Demoday 18 December 2020
Logo design and branding
For a long time we have been struggling to find an fitting name for this project. It took many, many ideation sessions to come to our final name: UrbanAR. This name finally captures the essence of our product, as well as still being available.
The logo design process was pretty straight forward. We started with drawing exploratory sketches in ProCreate on the iPad Pro to determine a general direction. When the shape and colors emerged from this process — the blue selection ring and orange house — that fit best with the essence of the project it was time to finalise the logo in Adobe Illustrator.
Name development
Logo design explorations drawing in ProCreate on iPad
Logo design process in Adobe Illustrator
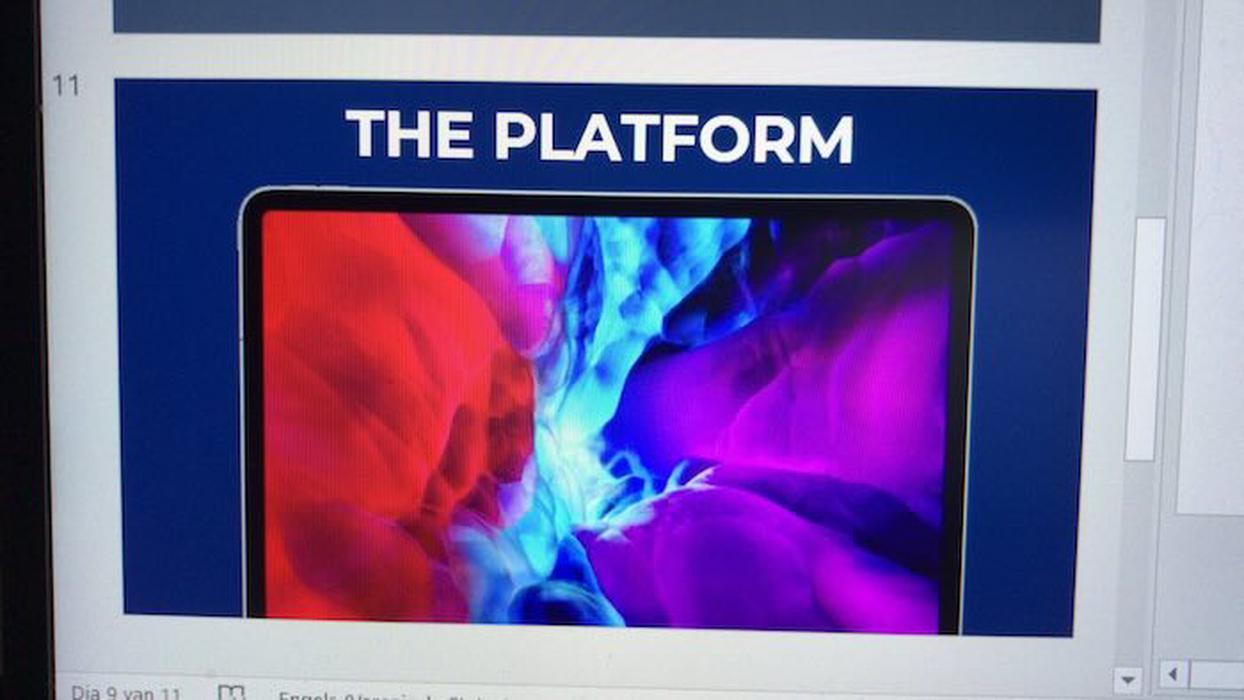
Script and storyboard development
We started analyzing professional advertisements for similar AR applications, such as PokemonGo or Minecraft Earth as reference material. The development of the storyboard was partly based on shots or editing inspired by these videos.
Due to the ambitiousness of the video we aimed to make, editing took way longer due to all the experiments that were conducted.
For storyboarding, we used separate pieces of paper we could rearrange after

Storyboarding
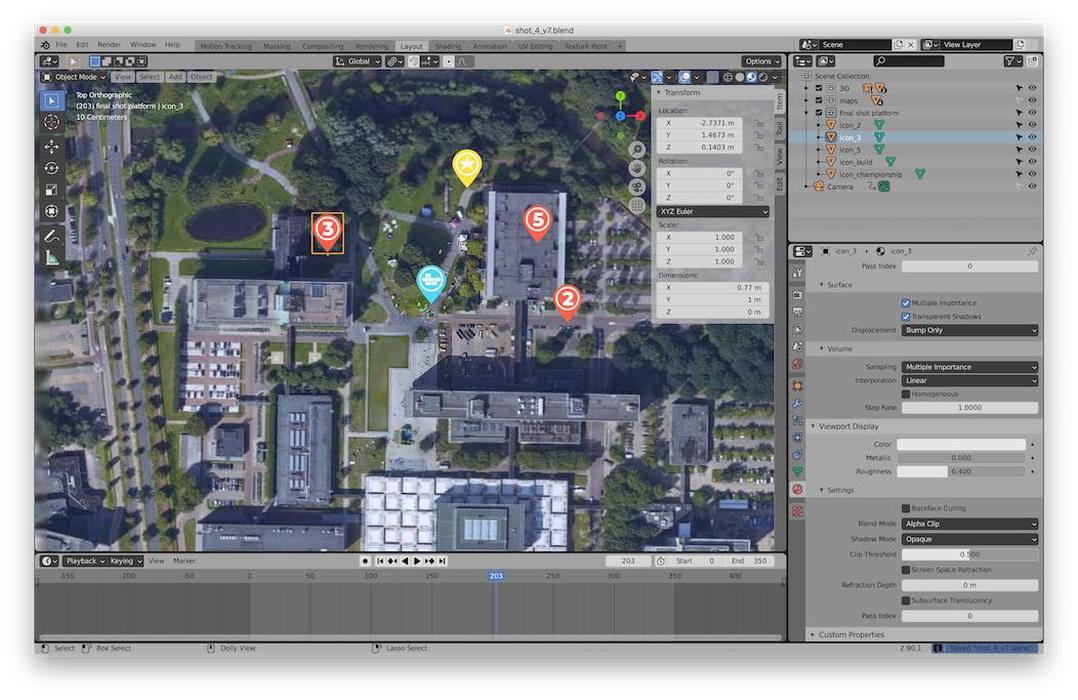
Shooting sessions and drone shots
We bought the DJI Mavic Mini, which is an inexpensive drone with good image quality, to make shots that could capture the entirety of the city, as well as providing stable shots of the main character building something.
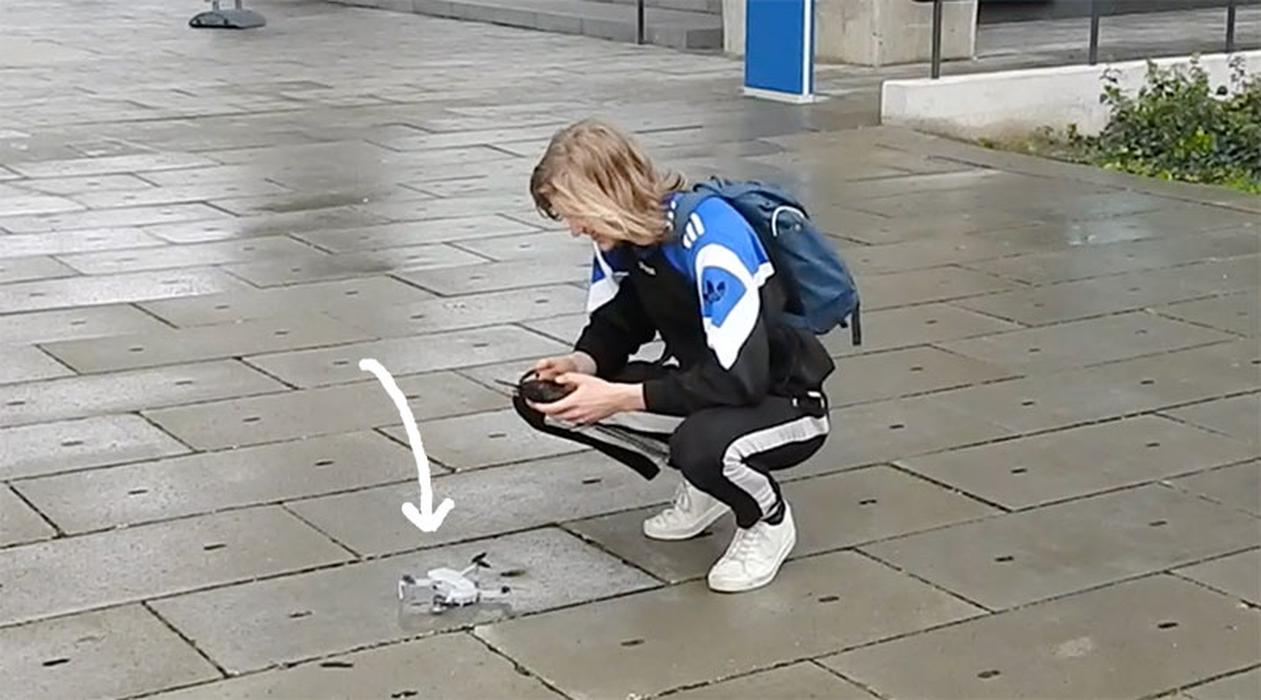
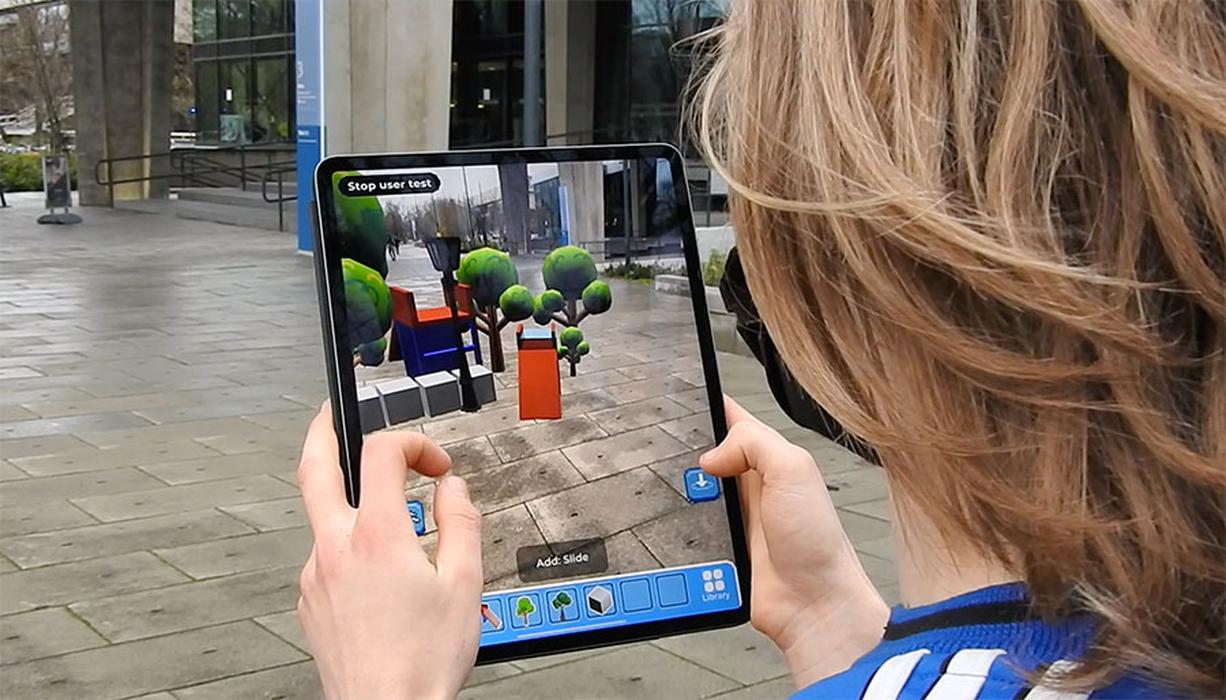
We went to shoot multiple times. We wanted to capture how people actually used the app. We didn’t stage anything and simply said “Just start building”, with the other person filming. This worked really well and was an eye opening experience. This, because it was the very first time we tried to design something with the app outside in real world scale. The excitement can be seen in the following video we recorded during the shooting sessions:
Augmented Reality Build System test during shooting sessions (12/12/2020)
Music composition and research
We struggled a lot while finding appropriate music. The music needed to sound professional, as well as playful. However, most music in this area is quite cheesy and over-used. It needed to be relatively fast-paced and have a strong beat. This would allow us to cut on the music and make an engaging video.
Different experiments were tried with different types of music. We have even tried to make our own music, but eventually stuck on a vibey hip-hop song, which really strengthened the main introduction scene. The song: Let Me Tell You a Story - MaverickMyers (https://www.youtube.com/watch?v=bkxpEteGG3M&ab_channel=MaverickMyersRadio)
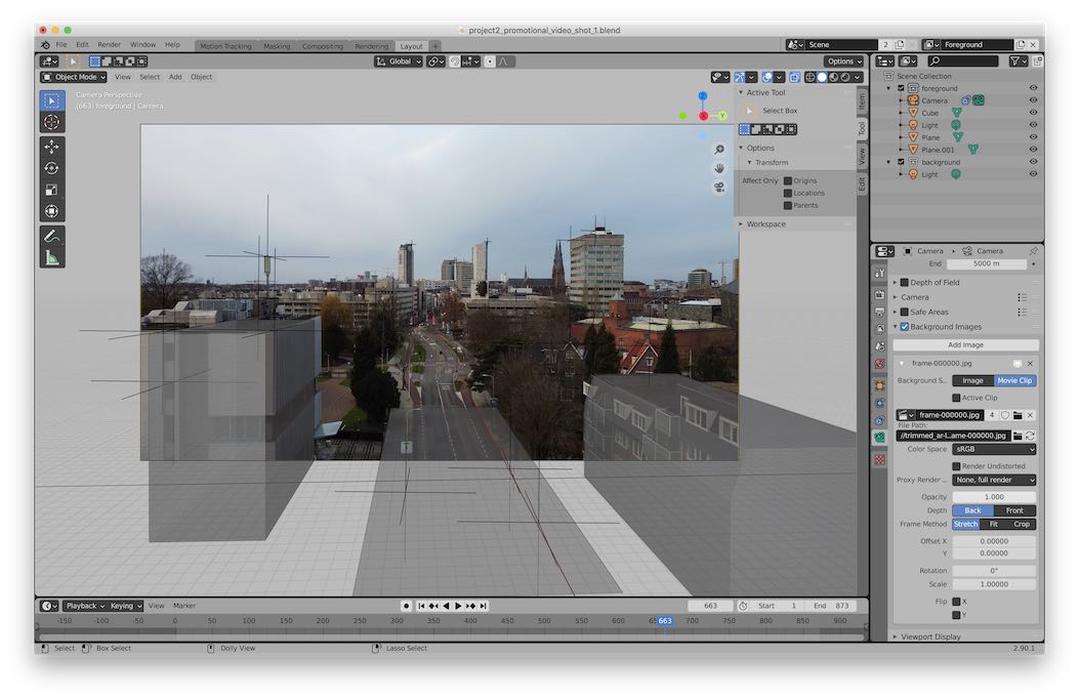
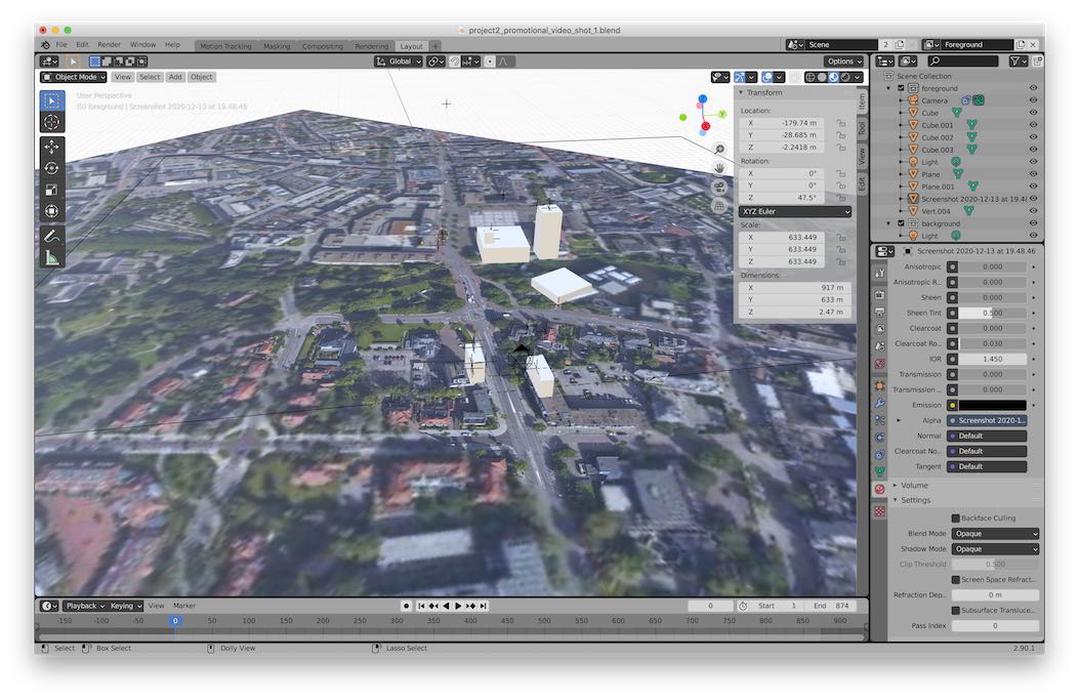
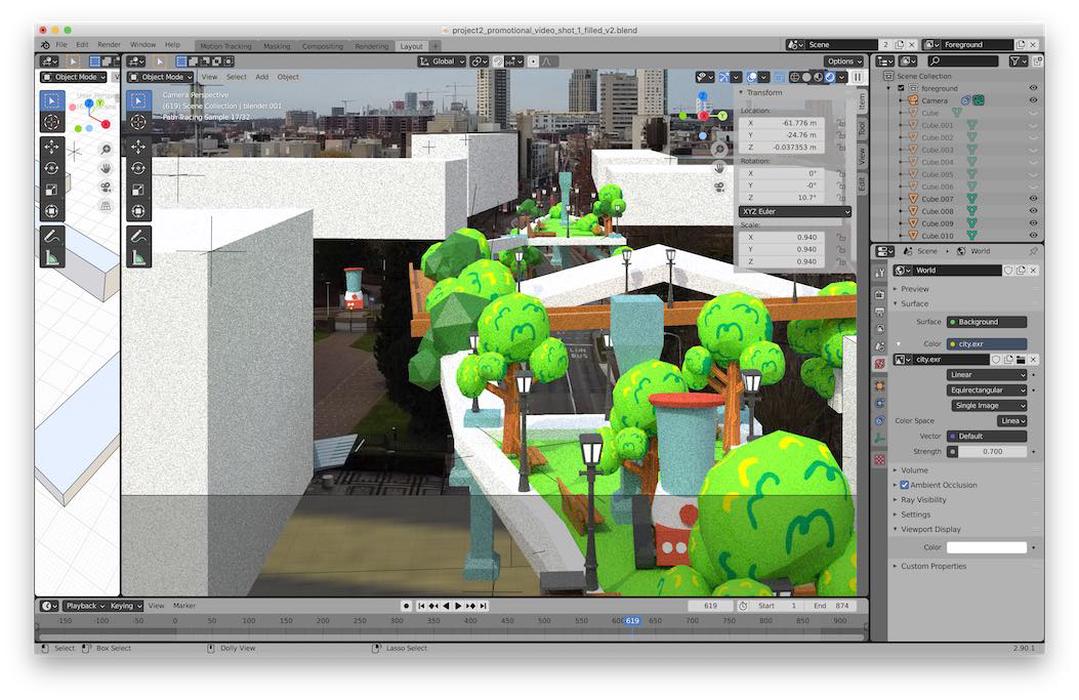
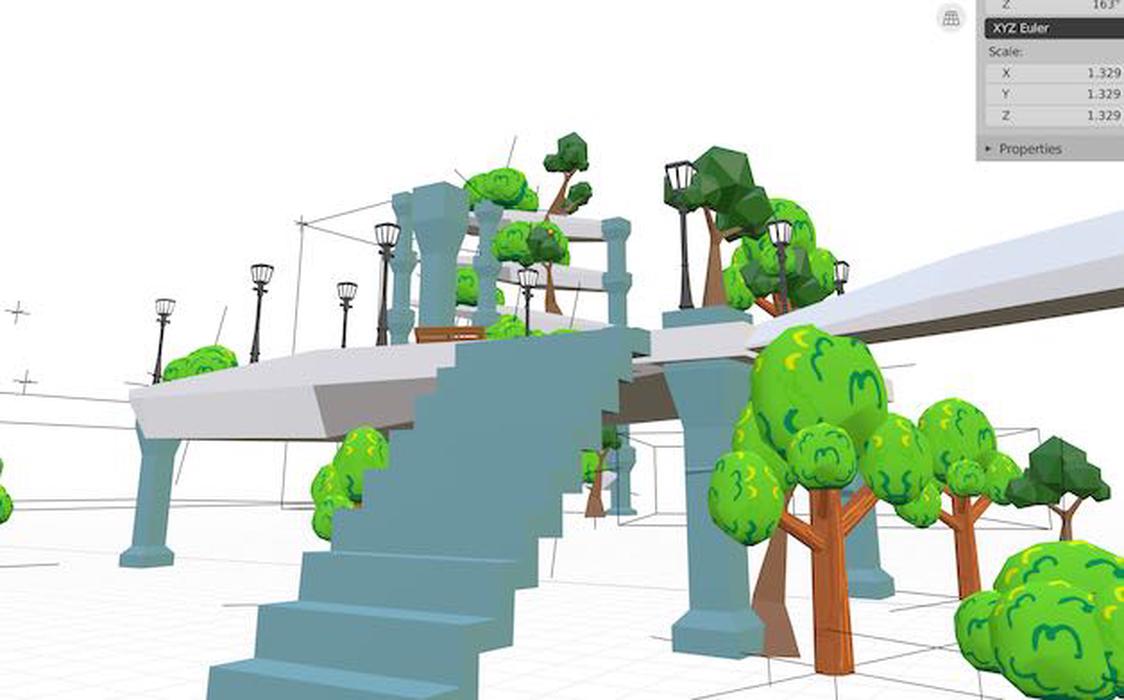
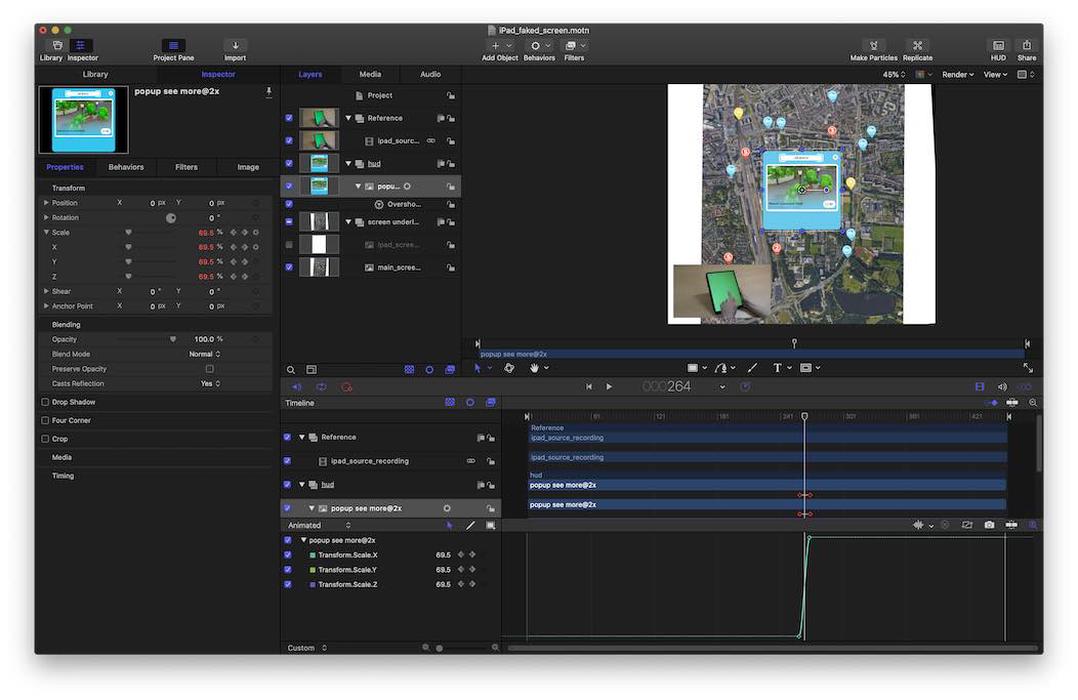
Visual effects shots
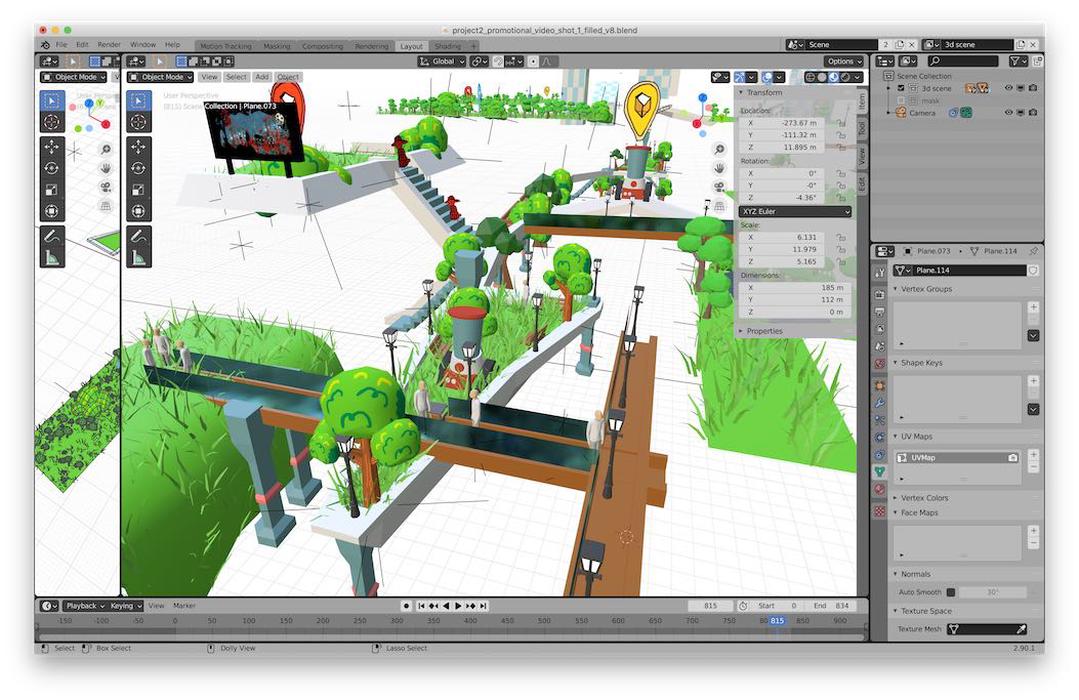
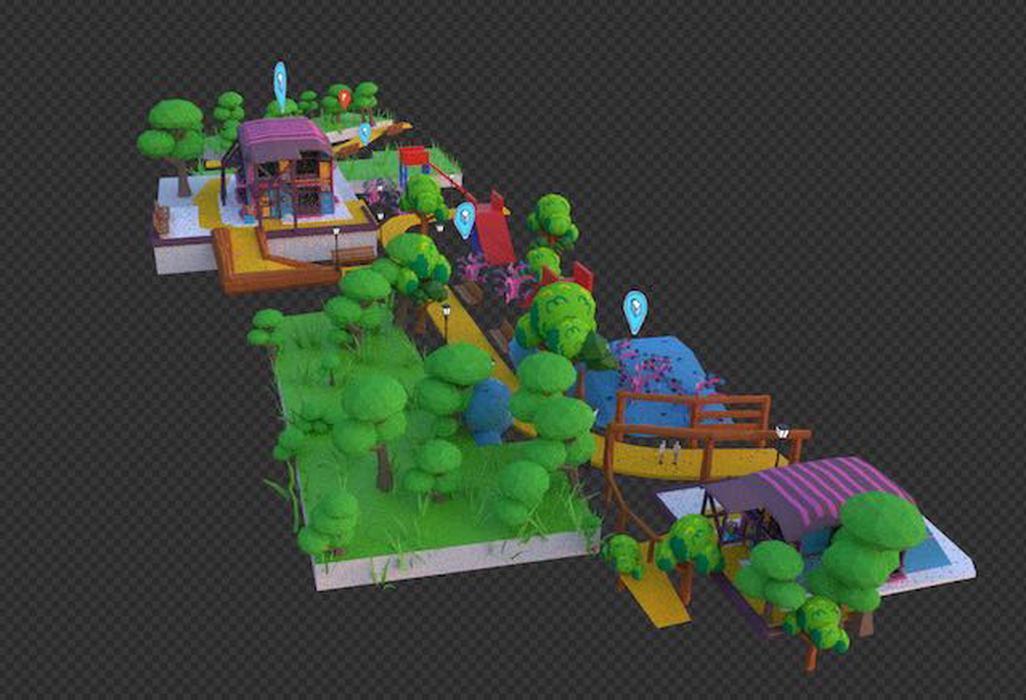
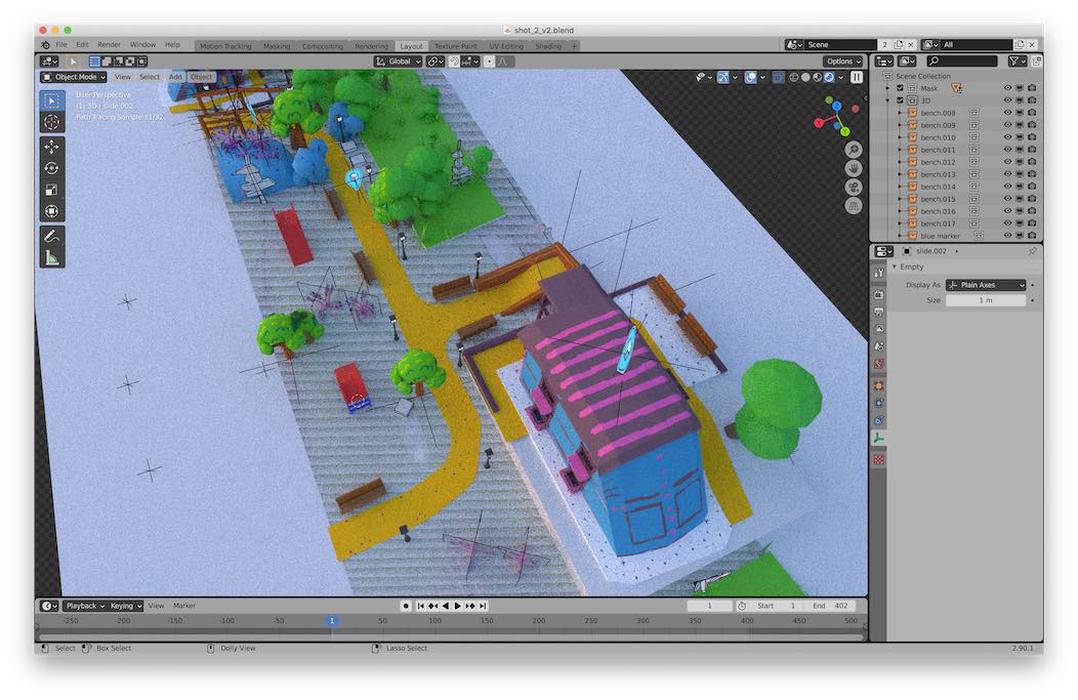
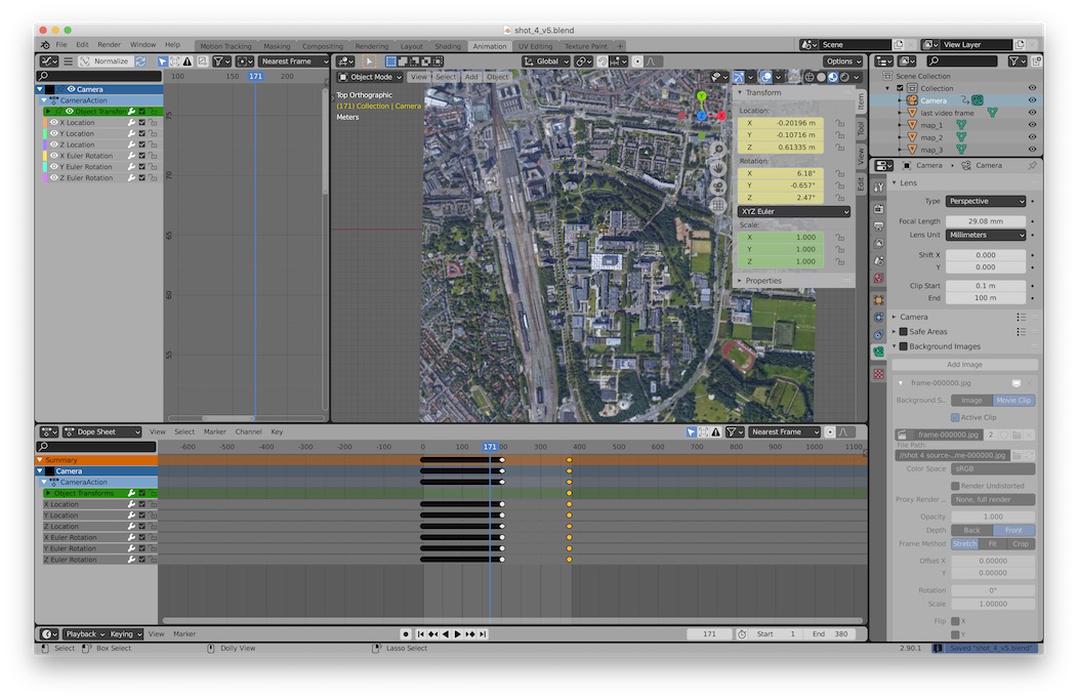
To further drive the scope of our ideas home in the promotional video, we wanted to go all out with visual effects. Three VFX shots were created over the span of five days. The programs we have used are Blender for tracking and 3d modelling, Compressor for video conversion and Final Cut Pro and Apple Motion for combining the footage into the end result.
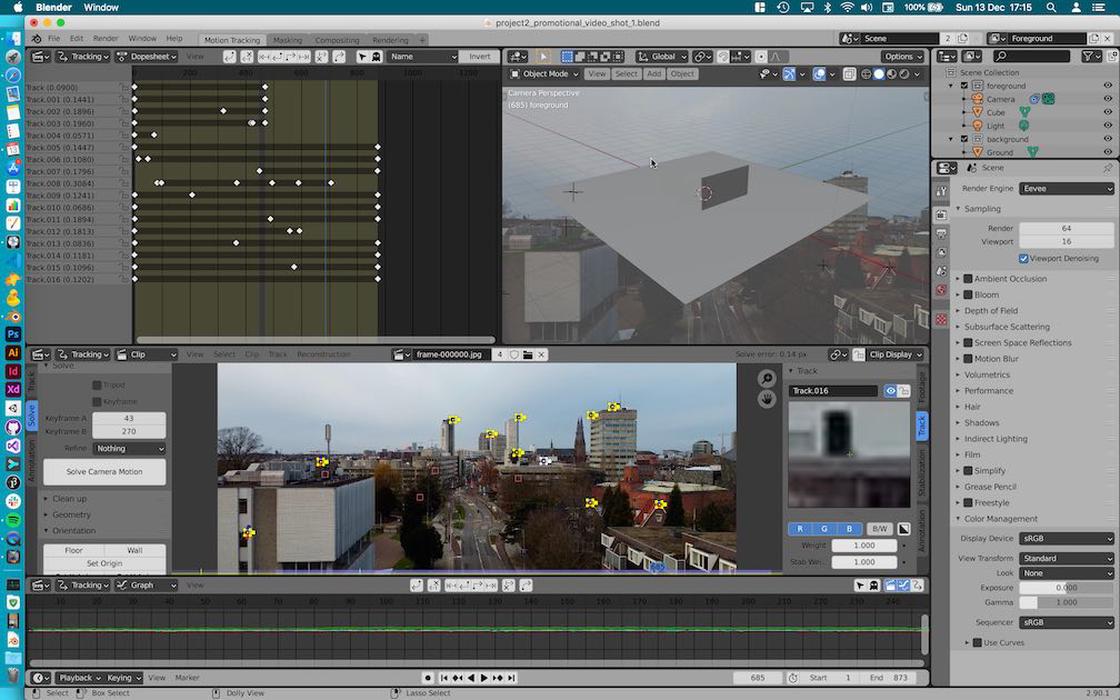
Behind the scenes VFX shots #1
Behind the scenes VFX shots #2
Behind the scenes VFX shots #3
Behind the scenes VFX shots #4
Behind the scenes VFX shots #5
Behind the scenes VFX shots #6
Behind the scenes VFX shots #7
Behind the scenes VFX shots #8
Behind the scenes VFX shots #9
Behind the scenes VFX shots #10

Behind the scenes VFX shots #11
Behind the scenes VFX shots #12
Behind the scenes VFX shots #13
The final results can be seen below:
VFX Final Shot 1 - City skyline
VFX Final Shot 2 - Showing off what he has built
VFX Final Shot 3 - Zoom out from building in augmented reality to the map overview
Editing
We created a lot of experiments with the music we had. Experiment 1 was edited with the music made by ourselves. The music used for experiment 3 sounded perfect because of it’s rhythm, good beats and happy vibe and was later chosen to be implemented in our final video. Many different types of editing techniques were applied, such as J-Cuts, beat-based-editing. We also tried to let the natural audio play and create contrast between the up-time music and the real sound (Experiment 3). After many experiments, we decided to apply beat-based-editing combined with the VFX shots at the beginning of the video so people get engaged immediately. Afterwards the platform and build system would be explained clearly.
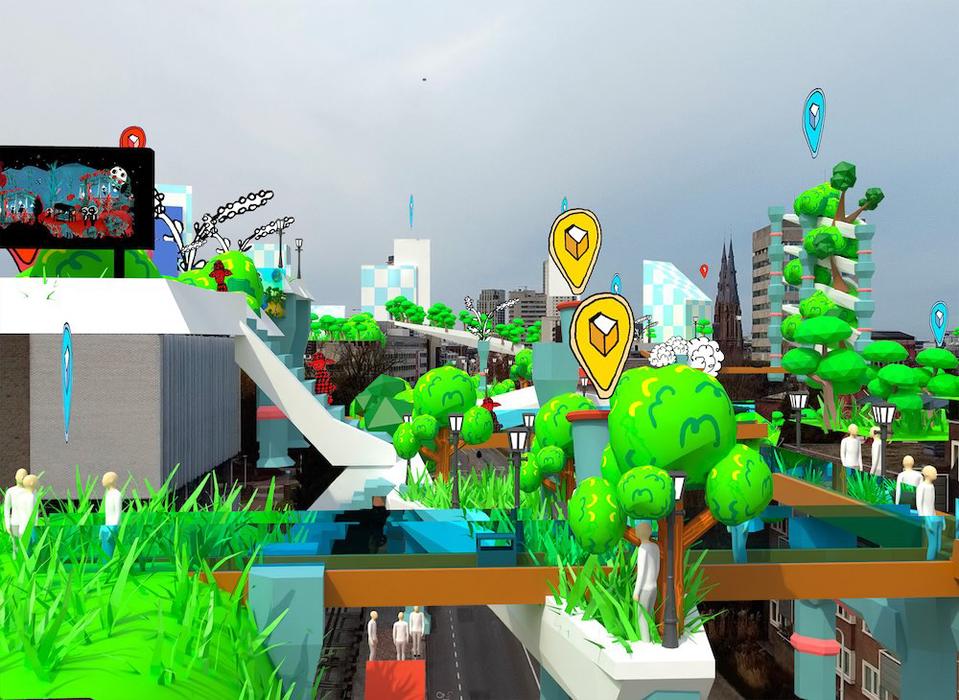
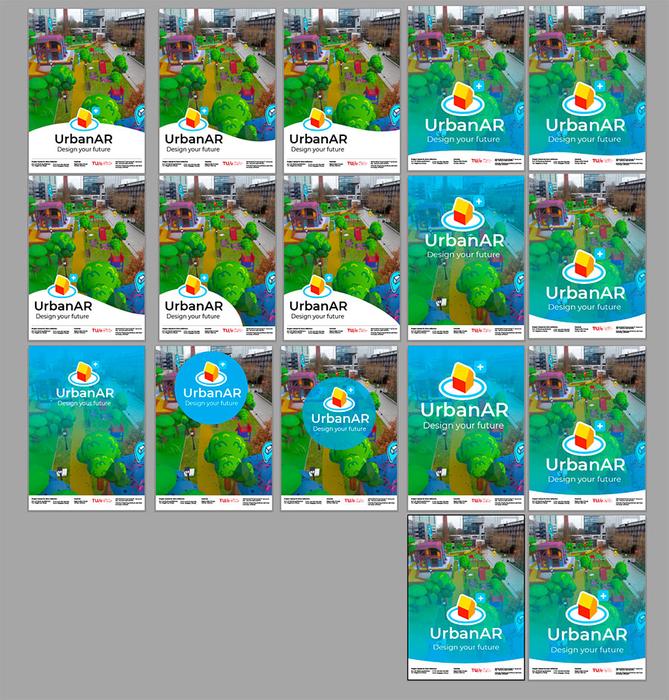
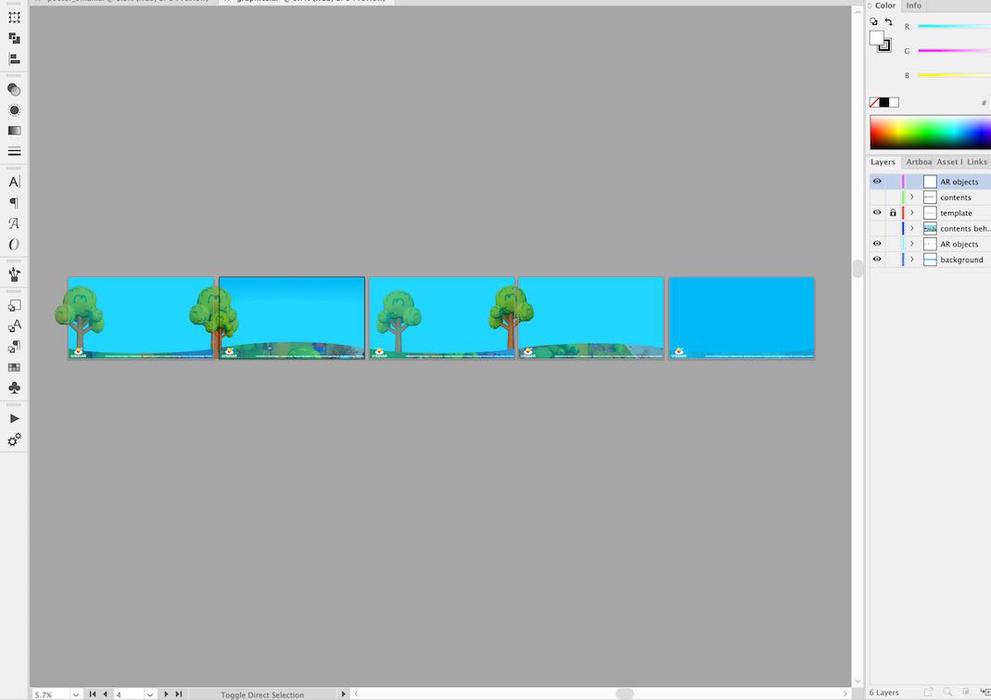
Creating the final deliverable graphics
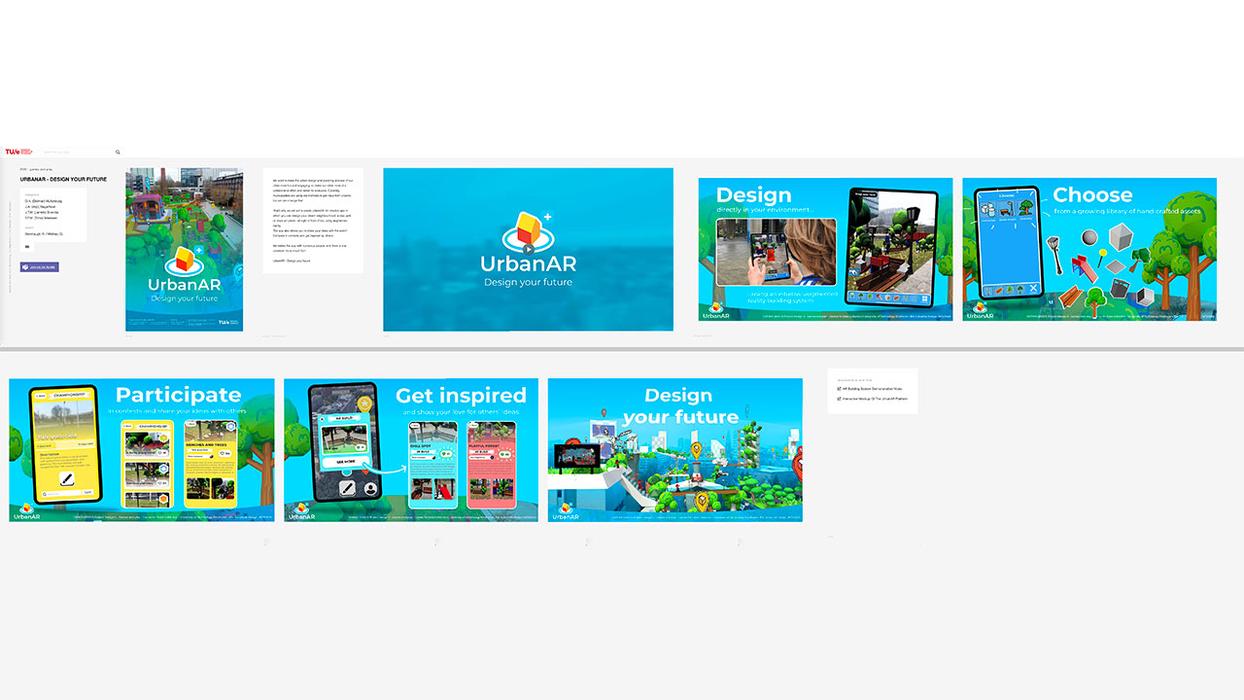
For the demoday page we had 5 widescreen images we could utilise to better explain our project. While we initially added simple photos, we took the opportunity to create new graphics for it. The goal was to let the backgrounds of the graphics connect properly:
Poster iterations in Adobe Illustrator
Graphics first experiment
Graphics overflowing background in Adobe Illustrator
Final deliverables
Description
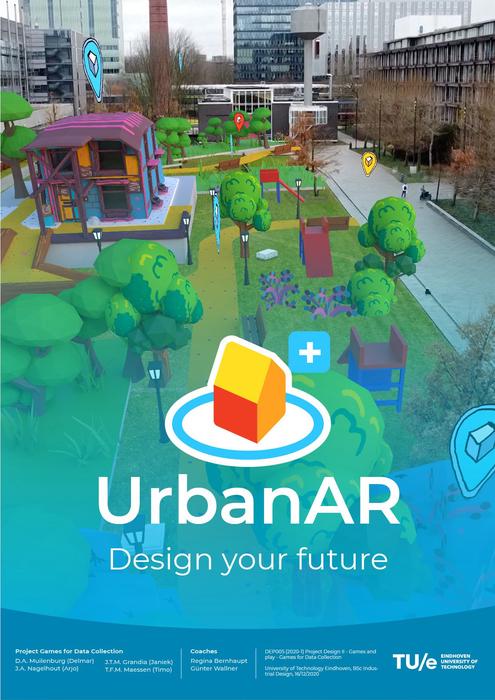
We want to make the urban design and planning process of our cities more fun and engaging: to make our cities more of a collaborative effort and better for everyone. Currently, municipalities are using old methods to get input from citizens, but we can change that!
That’s why we set out to create UrbanAR. An intuitive app in which you can design your dream neighbourhood, a new park or crazy art piece - all right in front of you using augmented reality. The app also allows you to share your ideas with the world! Compete in contests and get inspired by others!
We tested the app with numerous people, and there is one constant: it’s so much fun!
UrbanAR - Design your Future
Video
Graphics
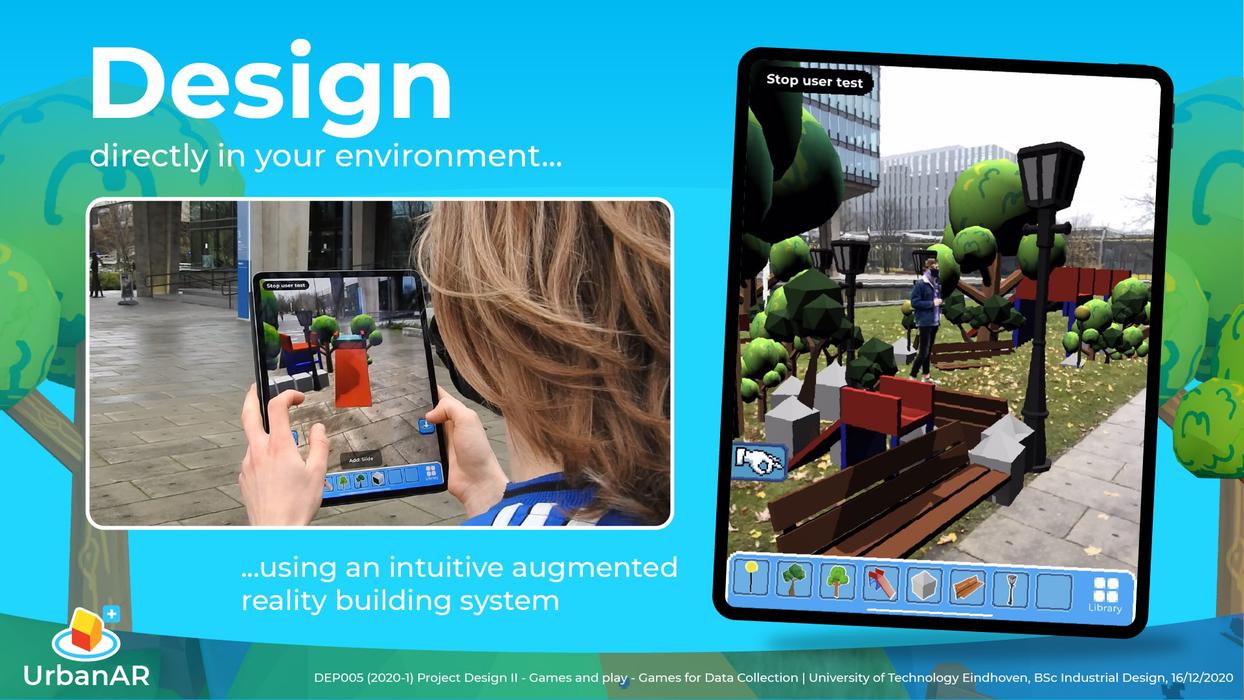
Graphic 1: Design your Environment
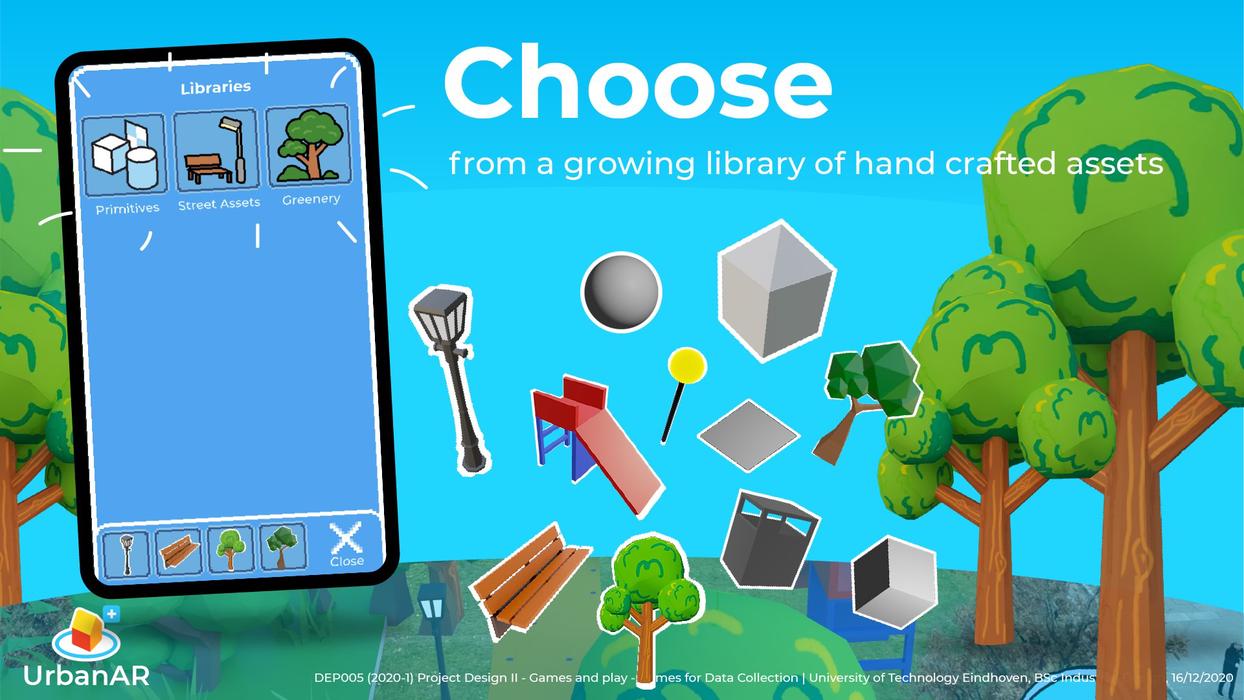
Graphic 2: Choose from your Library
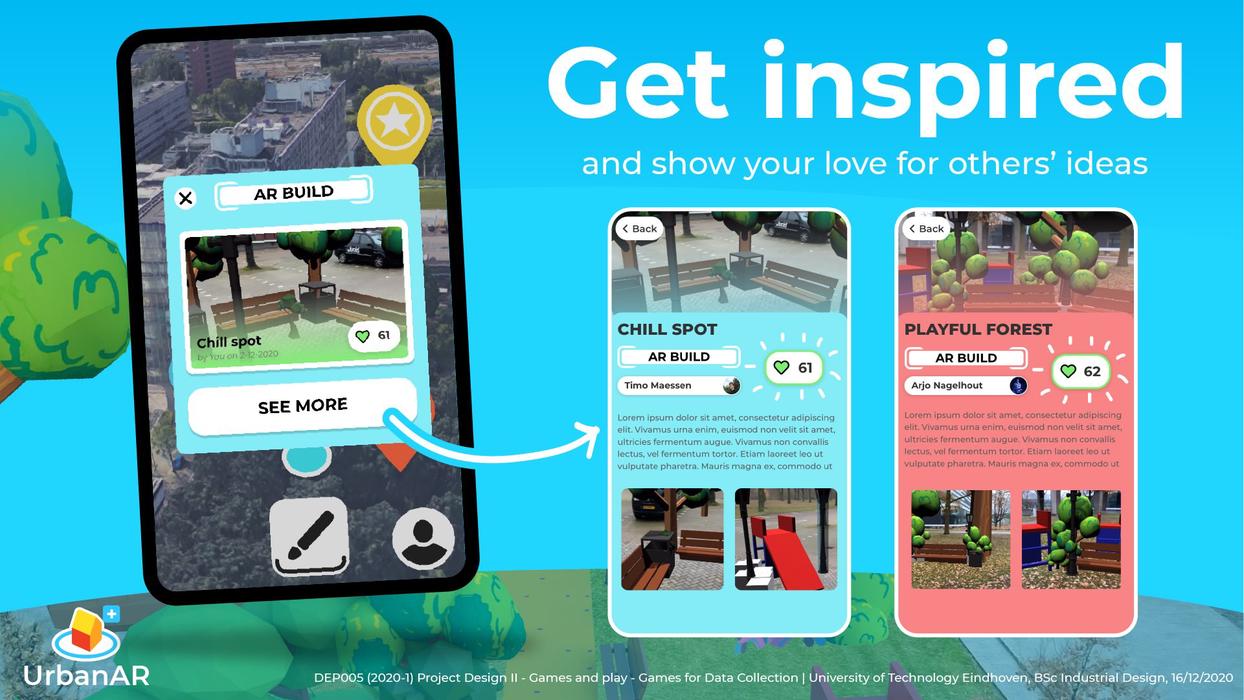
Graphic 3: Get inspired by others
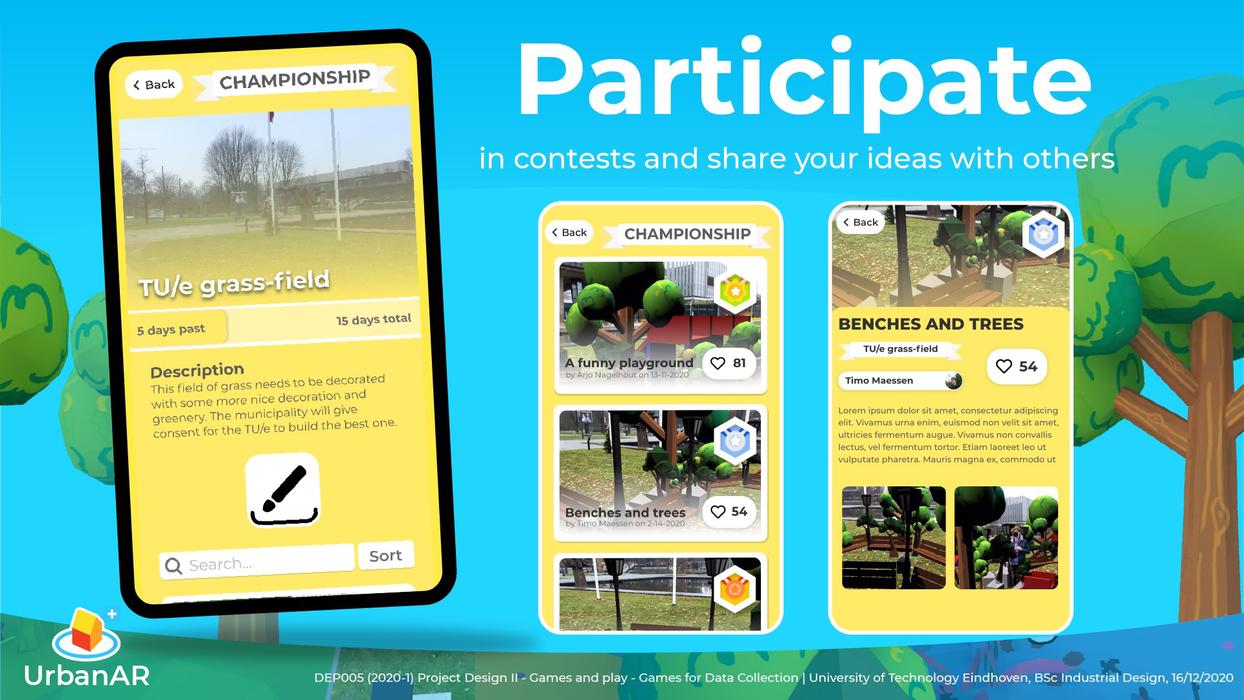
Graphic 4: Participate in Contests
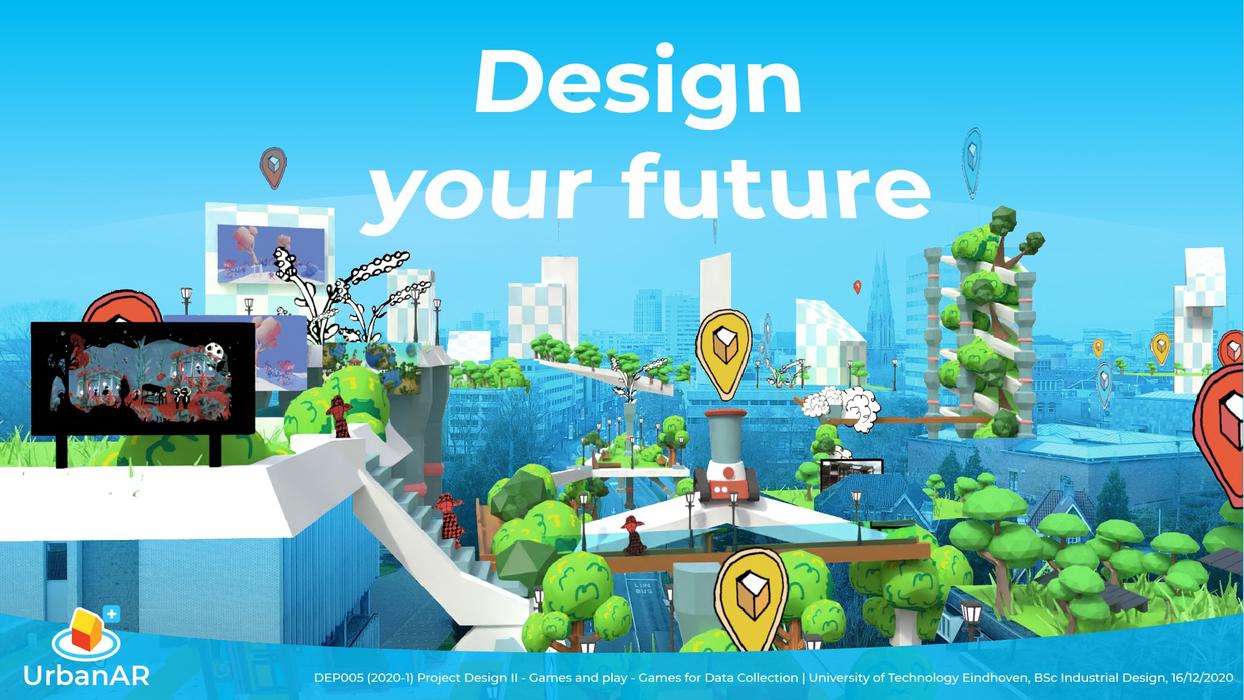
Graphic 5: Design your Future