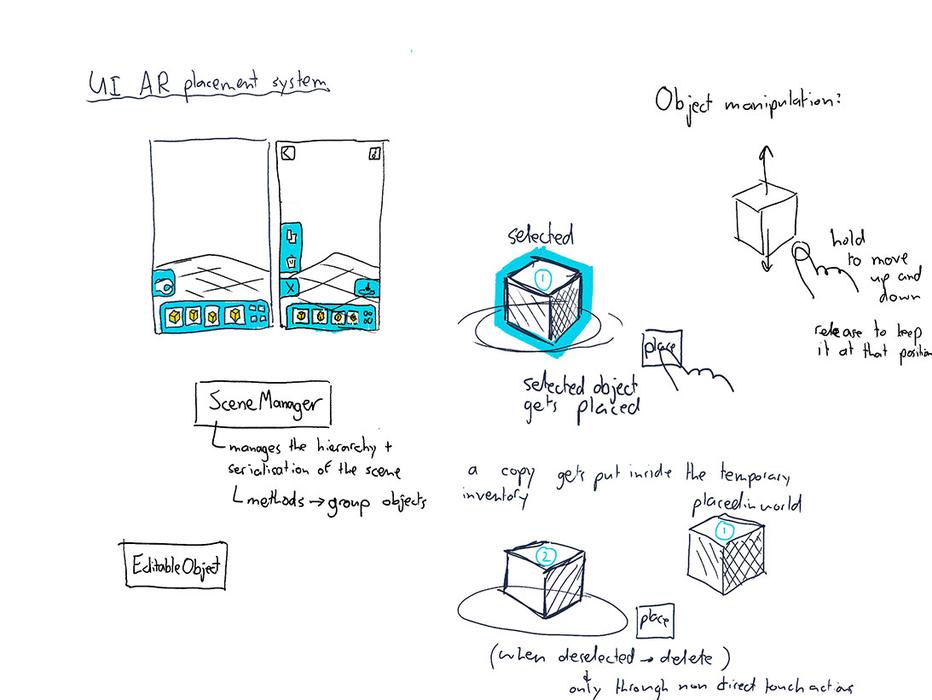
AR Build System
At the center of our concept lies the AR Build System. It has taken great effort to transform the concept we had at the midterm demoday towards the fully working prototype we had at the end of the project.
High quality mockups
The moment the midterm demoday was finished, we started creating proper concept videos. This was initially the plan for the midterm video, but we underestimated how much time it would take to do properly. From 23 to 28 October 2020 we worked on this.
Creating these high quality mockups were not only ideal for communicating our concept with others. It also helped with getting a clear vision of where we wanted to be at the end. Sketches simply didn’t allow us enough to see whether it would look, feel and work right.
First UI animation test in Blender with a faux finger (25/10/2020)
Assets created in Photoshop
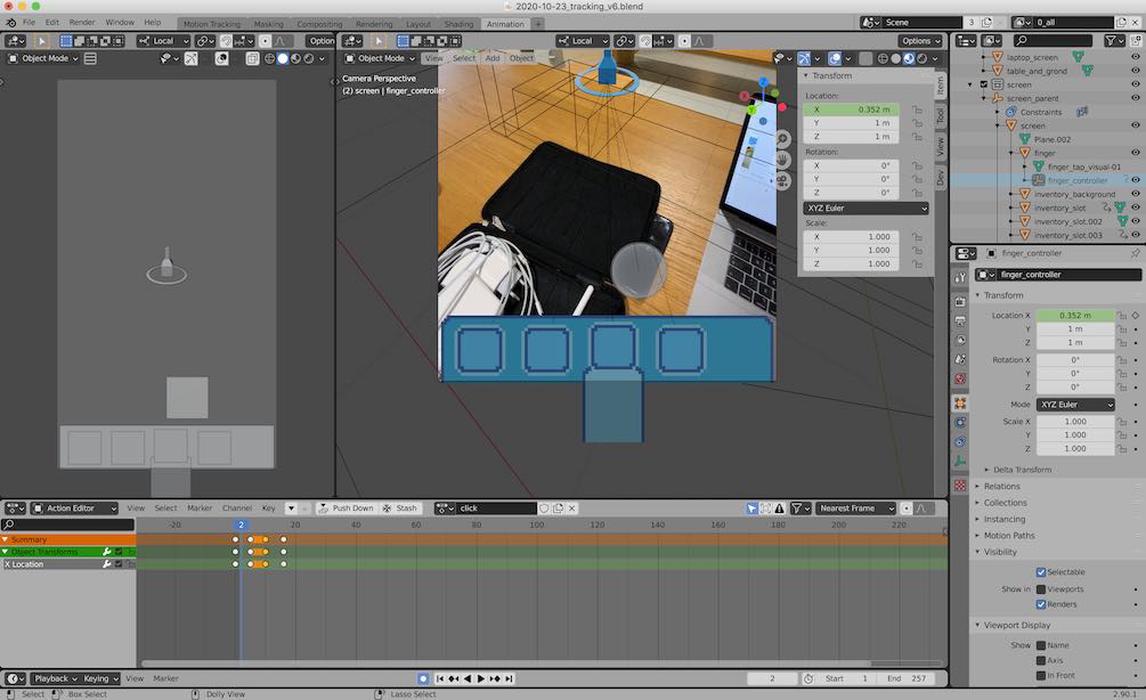
UI animation in Blender
3D Scene for UI mockup in Blender
Composition 3D Scene, video and 2D UI in Blender
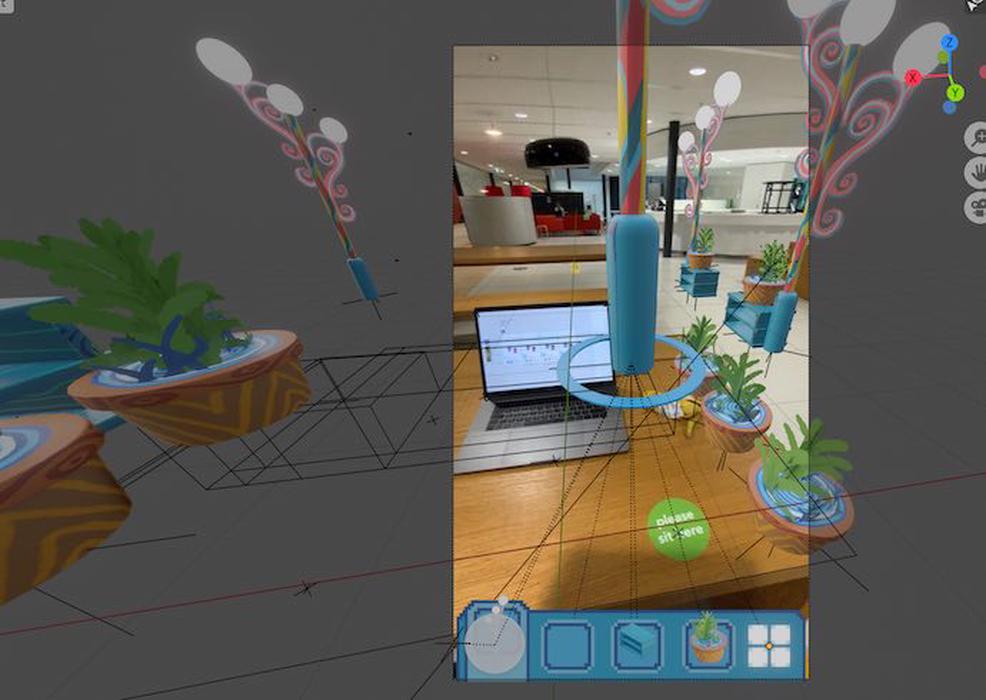
Final render app mockup
Greenscreen recording of app mockup render
Final compositing done in Final Cut Pro
Final composited render (27/10/2020)
Library UI interaction mockup in Blender
Final Render Library UI interaction mockup
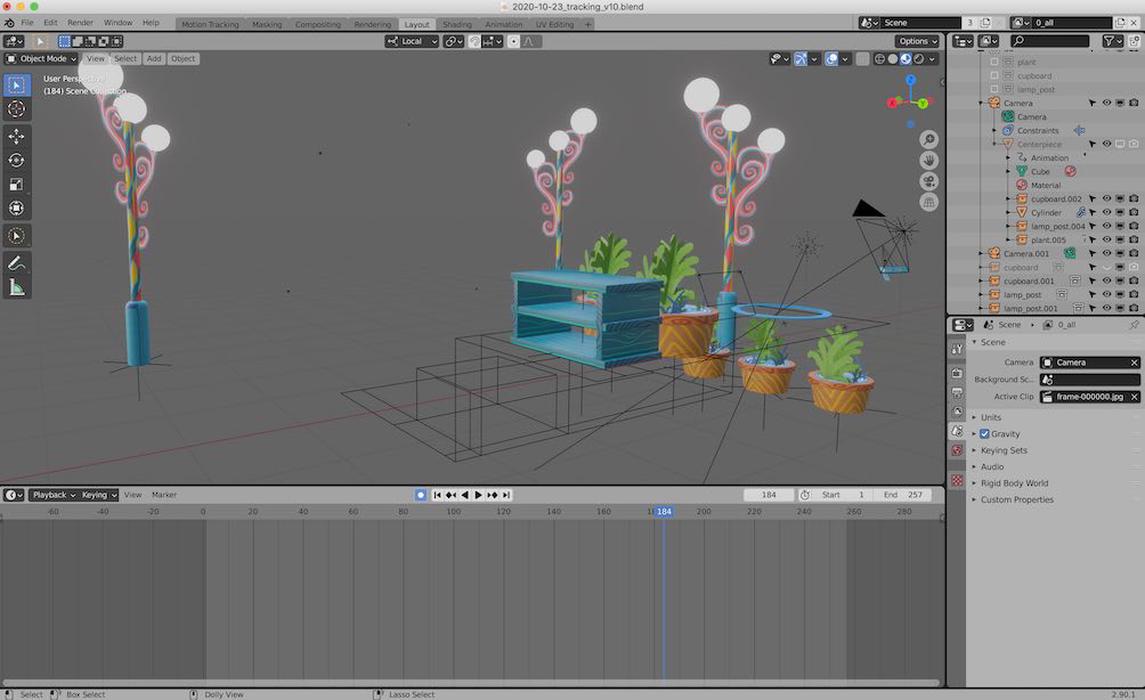
The general workflow for creating the mockups was to start with a video recorded with an iPhone. This footage could then be motion tracked in Blender so that we could overlay the 3d scene onto the real world. Then the UI interaction was determined on paper. The required 2D user interface assets were created in Photoshop and Adobe XD and imported into Blender, where these could be animated and combined onto a 2D screen in front of the camera. After this, 3D models were created in Blender and ProCreate was used for drawing the textures.
These 3D models were then added to the 3D scene and animated according to the camera movement and UI interactions. A 3D mask was added to make sure that the objects could be placed behind the real world objects (such as the table). The 2D screen, 3D scene and mask were then composited and rendered using the raytracing engine Cycles in Blender.
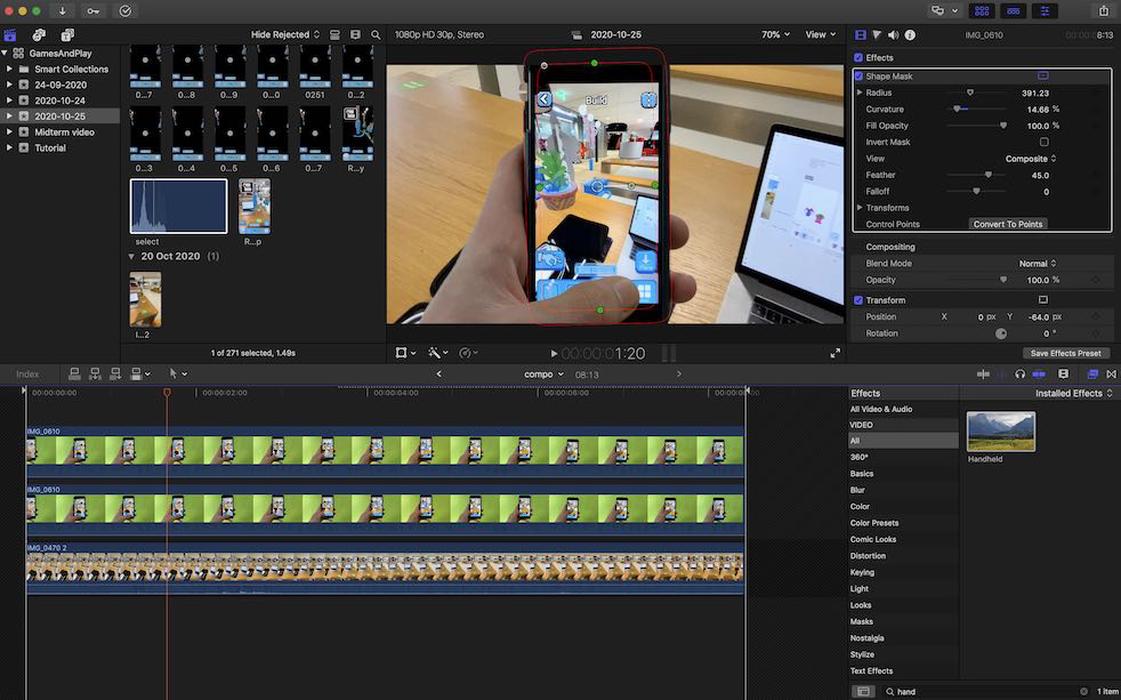
Afterwards, we combined the original footage and render in Final Cut Pro and exported it to an iPhone. This was then recorded with a greenscreen background. This was then combined in Final Cut Pro again with the original footage so that it looked like the person was holding the iPhone in the original environment.
A complicated process, but highly rewarding because the end result is identical to what the actual programmed prototype would look like.
Workflow documentation
Because this workflow was so interesting to figure out, we created a document to track the progress and write down techniques and learning points:
How to use Blender for Augmented Reality UI mockups

First steps
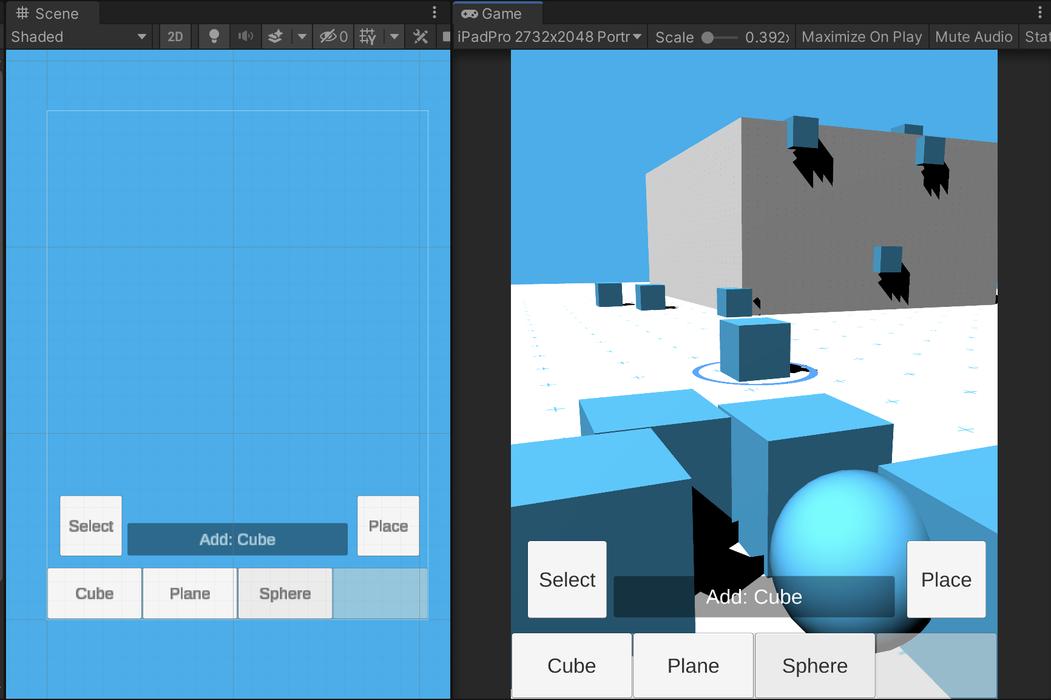
28 October 2020 was the very first version of the AR Build System in action. This was made using Unity + ARFoundation and tested on the iPad Pro. This was not the only amazing thing this day, it also was Timo’s birthday. He has turned 20! :)
The very first version of the AR build system (28/10/2020)
Further progress on the AR build system (28/10/2020)
There weren’t any notable design changes yet because the goal was to implement what was visible in the high fidelity mockups.
Overcoming long build times
11 November 2020
One of the main issues with developing for augmented reality in Unity is the long build times. This is because every change made in the code needs to be checked on the target device, since the Unity Editor, which can run the code without building, does not have augmented reality support.
The recently introduced Unity MARS overcomes this problem and allows you to directly test augmented reality experiences inside the Unity Editor. However, due to the high price - €1000 per seat, per year - we were unable to use this. That’s why we created a primitive testing environment that allows us to test the code directly inside the Unity Editor.
Primitive AR experience testing environment directly in the Unity Editor (11/11/2020)
Creating this setup immediately increased productivity by ten times. Now actual progress could be made.
Progress 12 November 2020
In this version of the build system, multiple object selection was now implemented. The tooltip indicates the current mode and selection. Moving multiple objects also works, as can be seen in the following demonstration video:
Video 12 November 2020
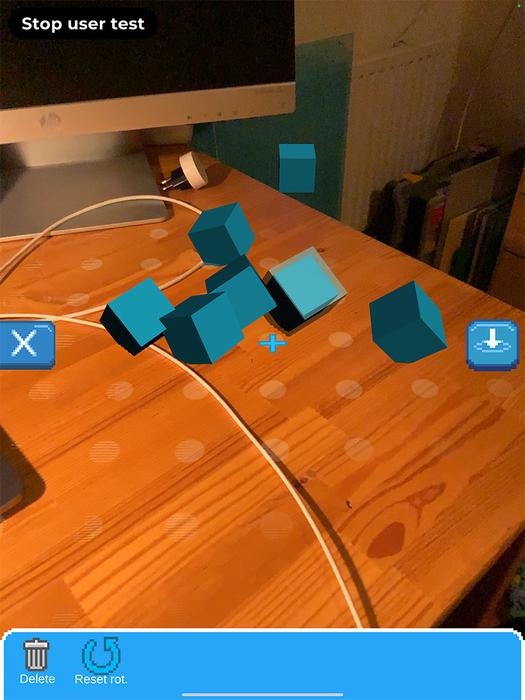
Progress 30 November 2020
In this version of the build system, duplication was implemented. This was removed directly after because it was very confusing, but still an interesting interaction.
Video 30 November 2020
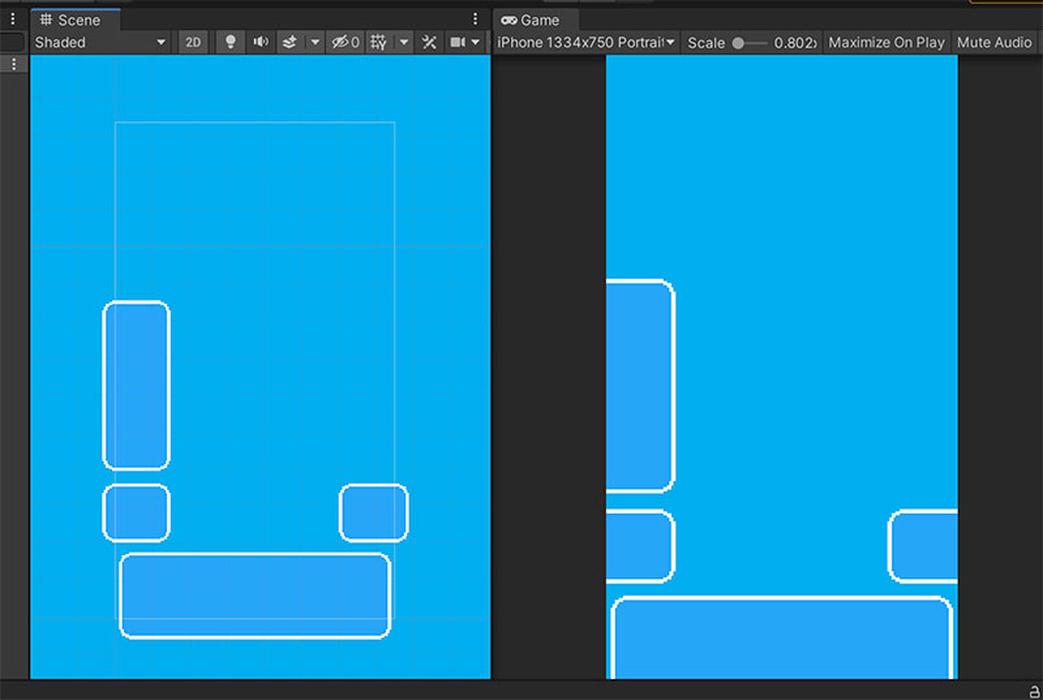
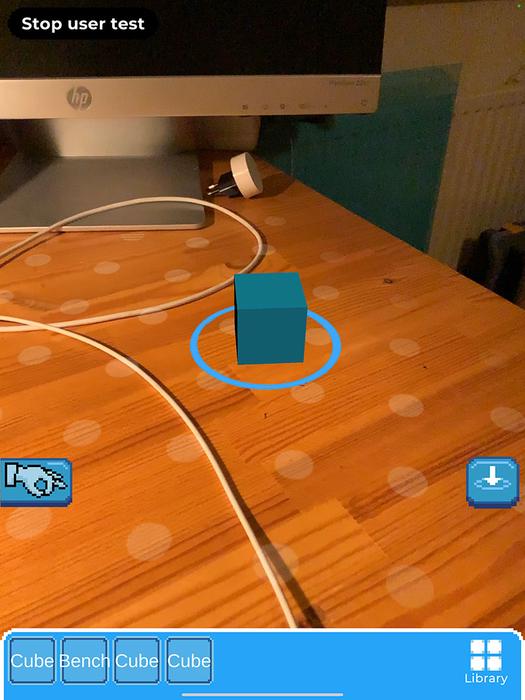
We also made a start on the design of the panel for what happens when you select an object. Initially it was on the left side of the screen, as can be seen in the following screenshot. We also started implementing the interface as it was defined in the high fidelity mockups.
Progress 3 December 2020
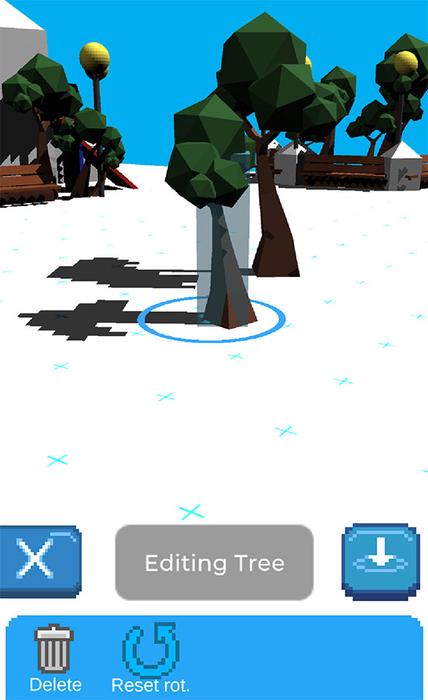
Horizontal and vertical rotation of objects is now implemented, we revamped the UI so that it resembles the UI mockups.
Video 3 Video 4
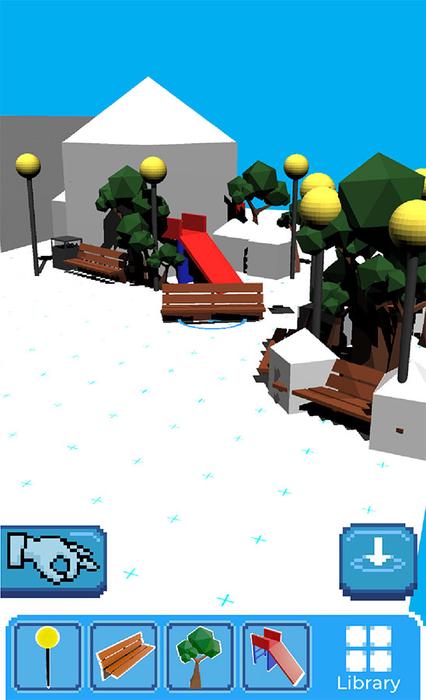
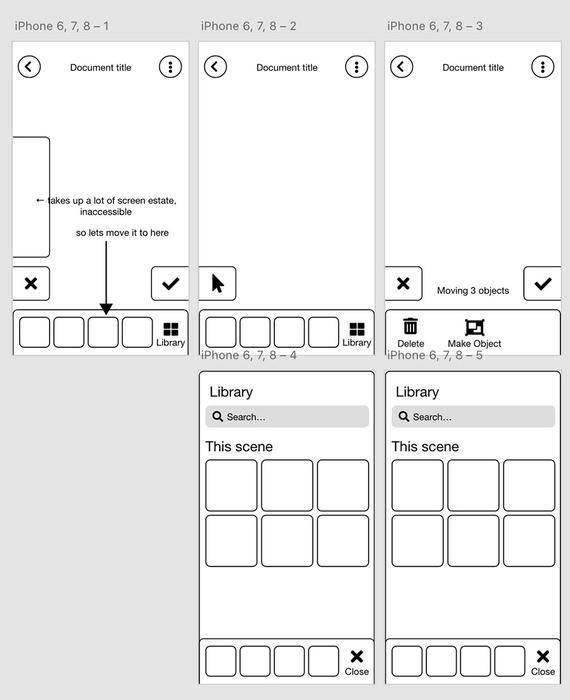
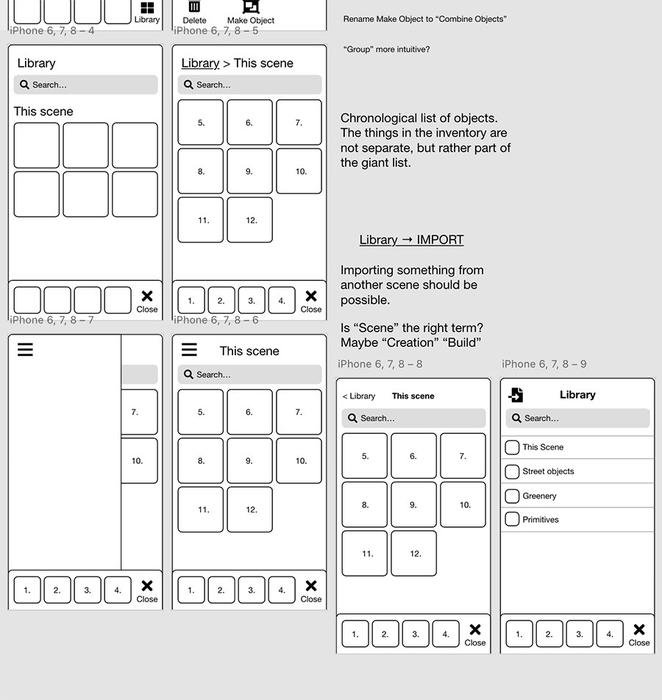
Because not all interactions were defined in the mockups, we continued designing the interface. We also started thinking about an improved design for the assets library:
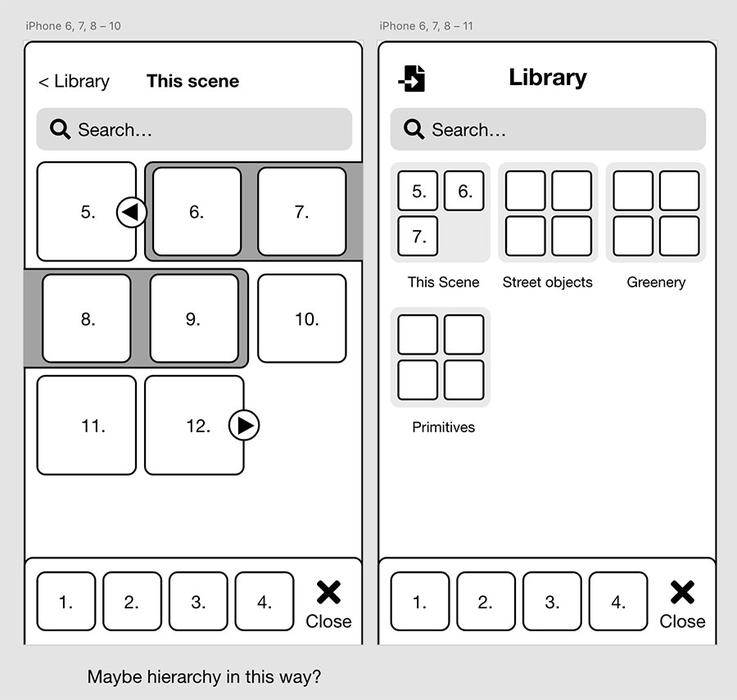
Progress 6 / 7 / 8 December 2020
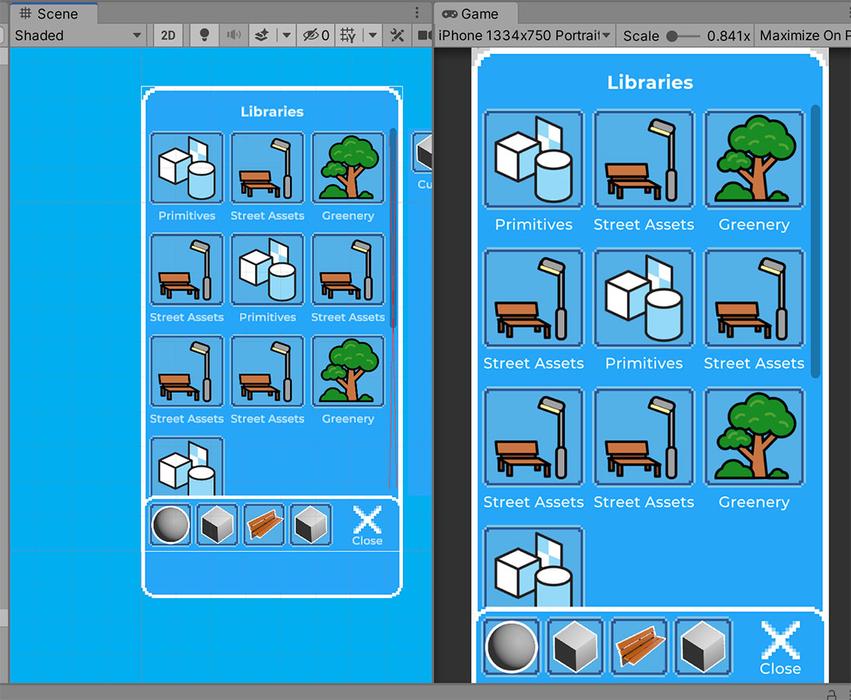
Progress on the library system, automatic population from ScriptableObjects and responsive to screen rotation / sizes.
Generated and populated inventory slots on runtime (6/12/2020)
Libraries overview panel implemented (28/12/2020)
Proper UI transitions implemented between libraries overview and library (08/12/2020)
Progress 10 December 2020
Implemented object scaling
Video 5 Video 6
Progress 11 December 2020
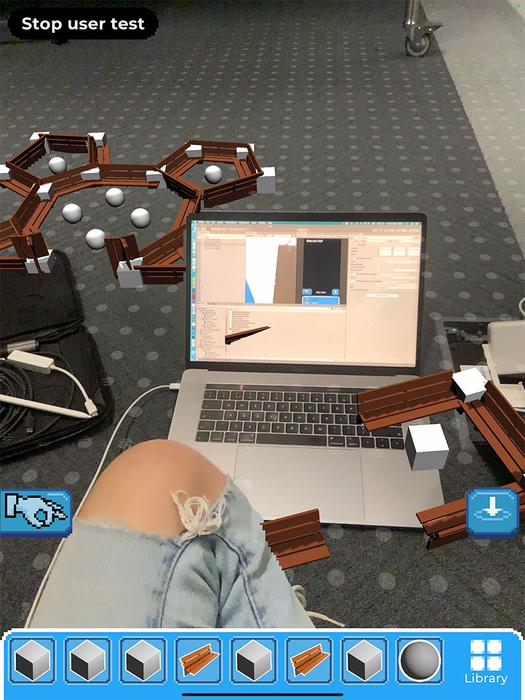
Revamped models, added the tree and street lantern. All objects have been added to the library.
Read further at Evaluation →